2021 is like 2020. No, we are not diving into another global pandemic, in fact we are coming out of one. By the way, go get your Covid-19 vaccine. Going into 2021 we are seeing supply chain shortages. This means we can’t get all the product we normally do. If you plan to camp, backpack, climb or spend time outdoors at all this year. If you wait to buy the gear you need, you might be too late. Before items run out, these are the items we recommend for summer 2021.
Big Agnes
BioLite
Patagonia
Big Agnes
In search of the best night sleep while outdoors? Look no further than Big Agnes. We carry the tents, sleeping bags, and sleeping pads to keep you comfortable. In terms of tents, Big Agens is implementing their own Solution Dyed Fabrics. What are Solution Dyed fabrics you ask? Well, this Big Agnes has reduced 50% of water required for dying their fabric, saving up to 5 gallons of water per tent. On top of that, 80% less energy is required and 80% fewer chemicals are used. Big Agnes already makes high quality tents, why not make them more sustainable? When you buy high quality you buy less. High quality gear lasts longer, is more reliable, and will keep you loving the outdoors.
BioLite
Reframing energy and lighting, BioLite is changing the game in the way we see at night and charge our electronics. BioLit headlamps are uniquely light, no-pun-intended, and equally powerful. Long-lasing, water resistant, powerful, rechargeable, lockable. BioLite headlamps will drop weight in your pack and last for your entire trip.
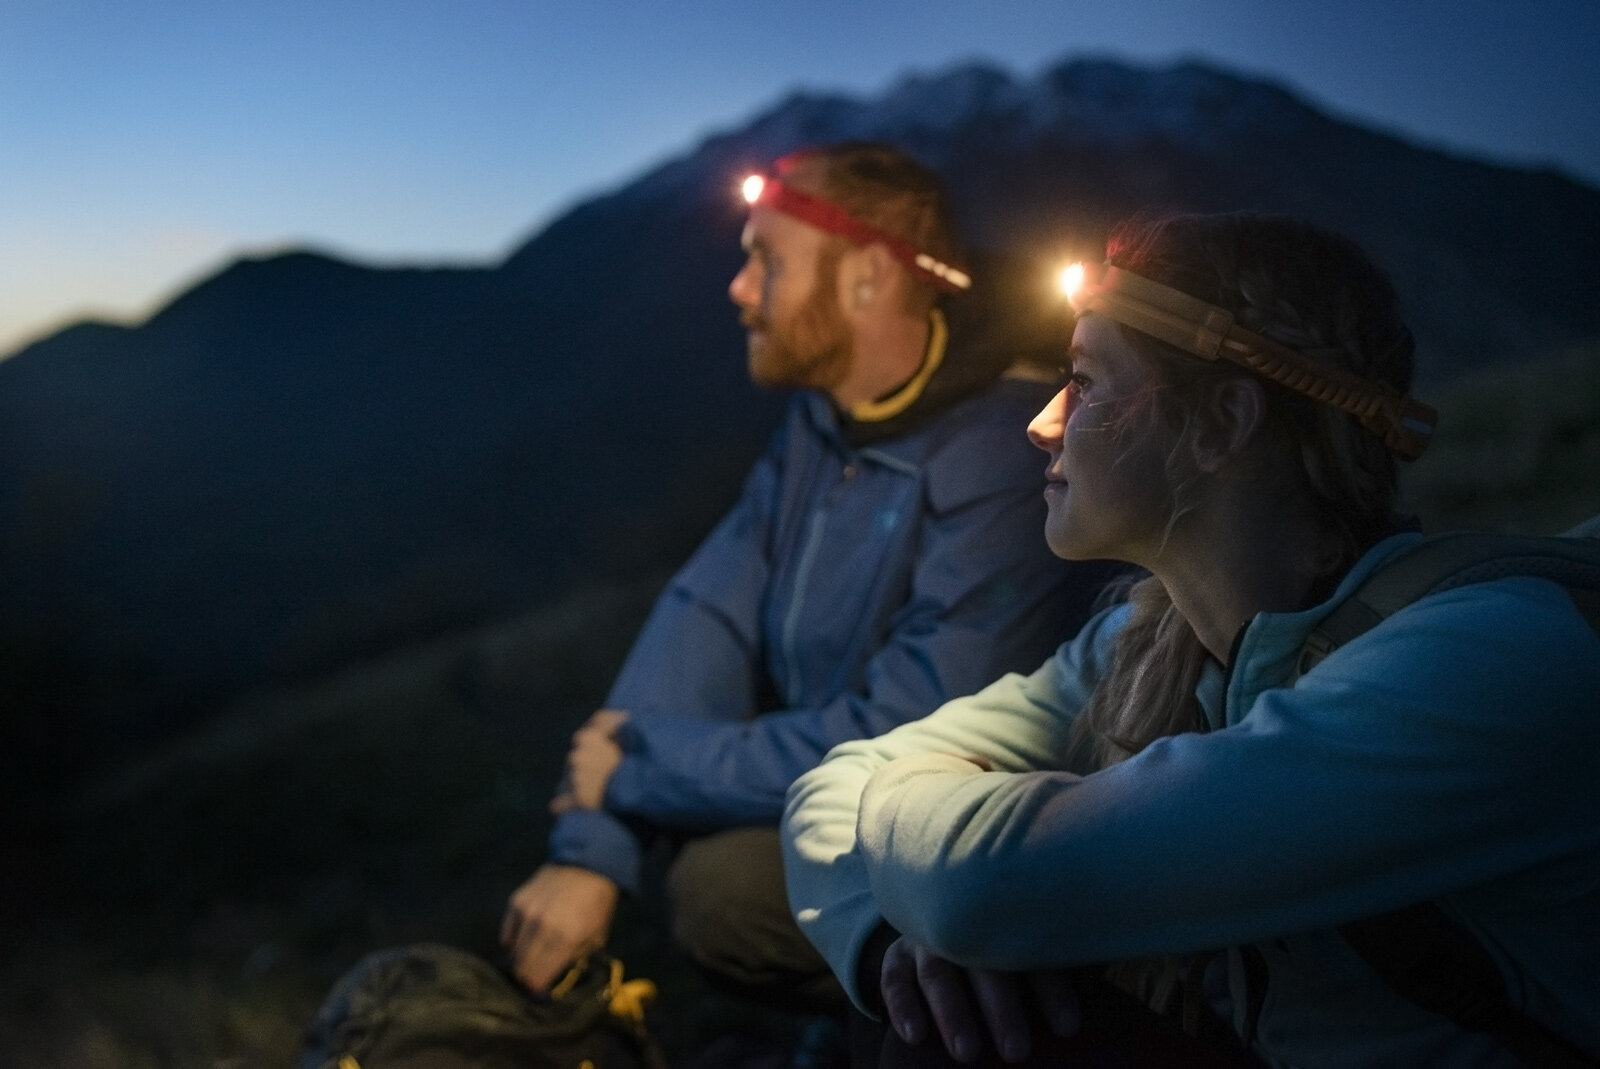
BioLite 330 Headlamp
Beyond headlamps, Biolite is changing the way we use energy. Do you love having a campfire while camping? BioLite has made the FirePit+. With X-Ray Mesh, this firepit is extremely efficient. Central to the firepit is an advanced fan system pushing air into the flames. This increases combustion, burns more particulates and helps your fire go smokeless. No more shuffling around the fire to avoid smoke. The advanced fan system also helps increase the temperature expelled by the fire to help you grill to perfection. When the fan is not in use, it doubles as a power bank to power your other devices. Combine this with one of BioLite’s solar panels, you’ve gone renewable.
Patagonia
Do you love your Patagonia R1? Well it is time for an upgrade. This year Patagonia came out with the R1 Air. This new layer is lightweight, breathable and quick drying. Not to mention, it is made with 100% recycled fabric. Perfect for spring ski touring, as a layer underneath a dry top or dry suit, alpine climbing, or to wear around town. This fleece is soft comfortable and you won’t want to take it off once you put it on. Our shop employees use it as their everyday mountain piece. Tested in the San Juan Mountains, the Patagonia R1 Air will keep your warm on cold mornings and breathe once it heats up in the middle of the day. You won’t need to change layers all day long.